Monday, February 16, 2015

How to Marry your Dog in your Kitchen...or DIY Wedding Arch

One of the more intimidating projects for the upcoming nuptials was figuring out our ceremony decor.  Our venue is kind of a blank slate for the ceremony as it's just nature.  Essentially all we really have reserved for our ceremony was chairs, and we need a little bit more to make it look like a wedding beyond a bridal party. 

Being inspired by the natural setting I wanted to have an arch of some sort, but I didn't want to overpower the greenery.  I had a bunch of inspiring examples:


http://www.weddingbells.ca/planning/ceremony-ideas/eye-catching-wedding-arbor-ideas/
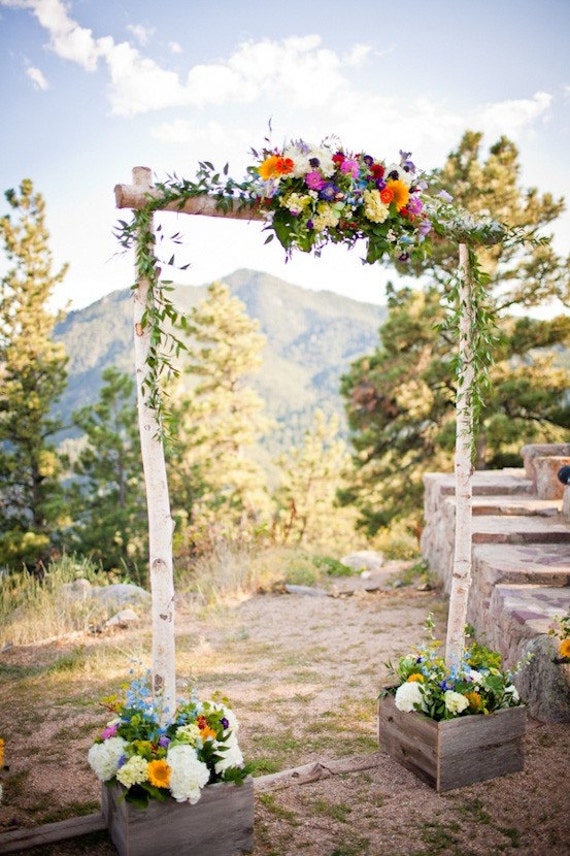
Three Piece Wedding Arch - Chuppa /Birch Poles
https://www.etsy.com/listing/176829012/three-piece-wedding-arch-chuppa-birch
http://www.weddingbee.com/wedding-vendor/bluemoon-catering-event-planning

And I also found a tutorial at A Practical Wedding that gave a how-to to create a super bohemian one complete with poms and rainbow ribbons.  I followed the step by step guide to create the structure and then decorated to my own style.

You'll need:
3 7 foot Birch poles
Zip ties
PVC pipe
Cement Mix, mixing bucket, and water
2 Silver buckets (about $20 each at Home Depot)
Fake Moss
Decor (use a silk flower garland like I did, or your own idea!)
A stepladder, unless you're not as vertically challenged as me

To start, we had to create a base that would hold the birch poles in place.  I got my birch poles on Etsy  and had to wait until they arrived to buy the supplies for anchoring them so that I could measure the diameter of the pole itself.  Two buckets, a bag of cement mix, and a PVC pipe later, we were ready to start assembling.


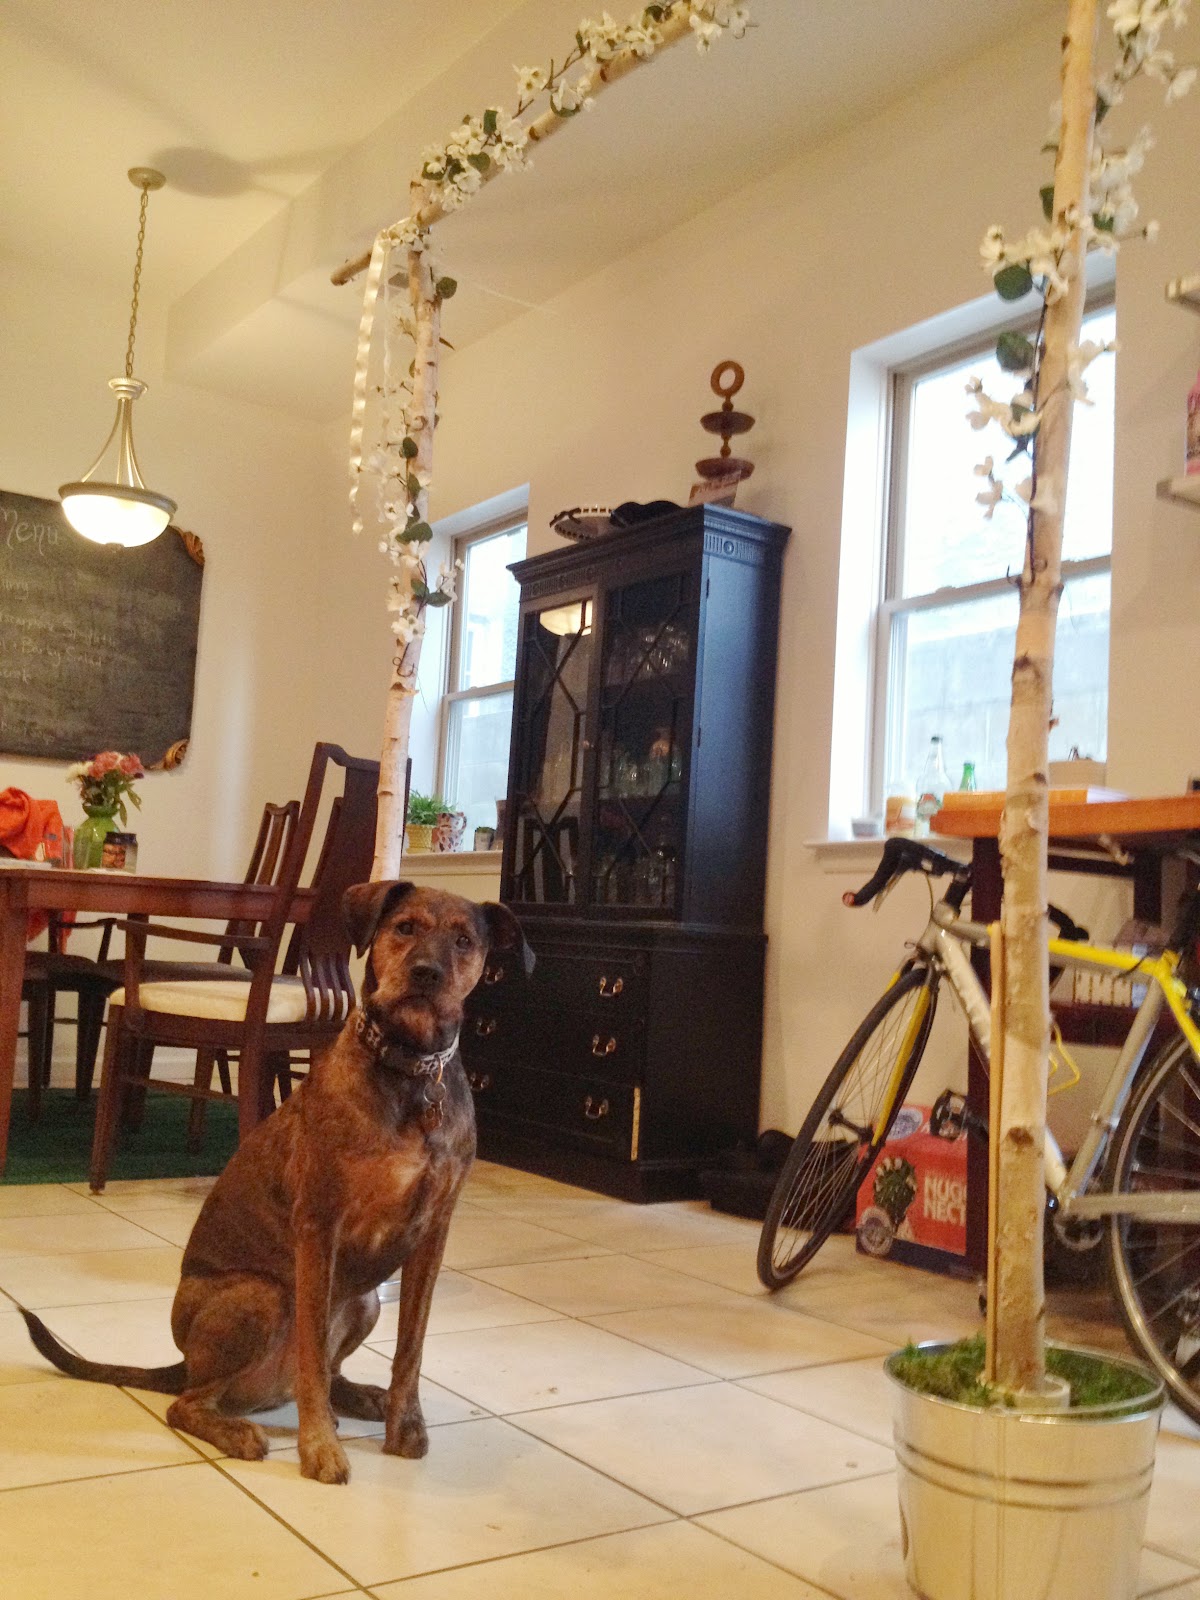
Foo was super helpful and hands on setting up a cement mixing station in the basement.  He cut the PVC and set it in the center of the bucket, and then filled the sides in with cement.  After curing the result was a 25 pound bucket.


We topped the cement with decorative moss found at AC Moore and we'll have to turn them backwards so we're not showing the stickers that we can't get off the buckets!  Inside the PVC are wood shims that we'll use to wedge the poles in so that they stand straight.


After setting the poles in their holders, we had to place the third pole across the top.  We screwed two eye hooks into the tops of the side poles, and then used a zip tie to secure the poles.  We're hoping that this kind of assembly is easy to do day of.  Hoping really hard.


Here's an up close shot of how we secured the poles together.  The zip tie is hidden by a tied satin ribbon.


Instead of going nuts with ribbon (I had originally wanted to tie a bunch down the center), I picked up two silk flower garlands at AC Moore (40% off yo!).  I secured them in the middle with floral wire and then again on the sides.  Day of, we'll just have to re-attach the sides after the structure is secured.  The above shot is taken pre-purchase of extra shims and ribbon where we were using a paint mixing stick and my stash of ribbon bits for last minute gifting.  Will you marry Harry?


Excuse the pile of recyclables and focus on the end result here.  I think the flowers look pretty realistic...and our audience will be sitting back a few yards.  Beats paying for a florist to do similar work!  After making the buckets, the assembly and decorating took 20 minutes tops, and that included me mulling over how to cover the zip ties and where to start and end the garland.  We're going to leave the garland secured to the top piece so that assembly is even faster for the ceremony.  

Hoping this helps any other DIY or budget brides hoping to do something similar!  At the end of the day this project cost just about $100 which was mainly the buckets and birch.  A rental of something similar or paying a florist to decorate a rental would be a pretty penny more! 


Monday, February 9, 2015

DIY Wedding Invites (Yes, it's gotten to this)

We took the longest break we've ever taken between September and now.  It's safe to say we're very busy and though we're accomplishing plenty of bloggable things, I've been bad at documenting.

What have I been working on?  Oh just wedding things every single solitary weekend.  Expecting it to be like this til May.  Originally I didn't want to write about this stuff because it's an audience limiter and most of the time I'm ashamed at how excited I get over a wedding craft (mainly because nobody cares except me and Harry and only because I use a really enthusiastic tone of voice when I finish).  But then I realized there is a small margin of people that might benefit from shared information and a lot of the wedding stuff can be duplicated for house stuff or other projects.  So screw it.  I'm going rogue.

The latest project, due at the end of February, is the invitations.  Dear God I learned so much unnecessary information regarding paper in the past month...also about postage.  I also learned how ridiculously expensive invitations are.  For me, invites are a silly place to blow a ton of cash, so even though I created a reasonable budget to start it was my life goal (for like 2 weeks) to come in under.  Way under.  

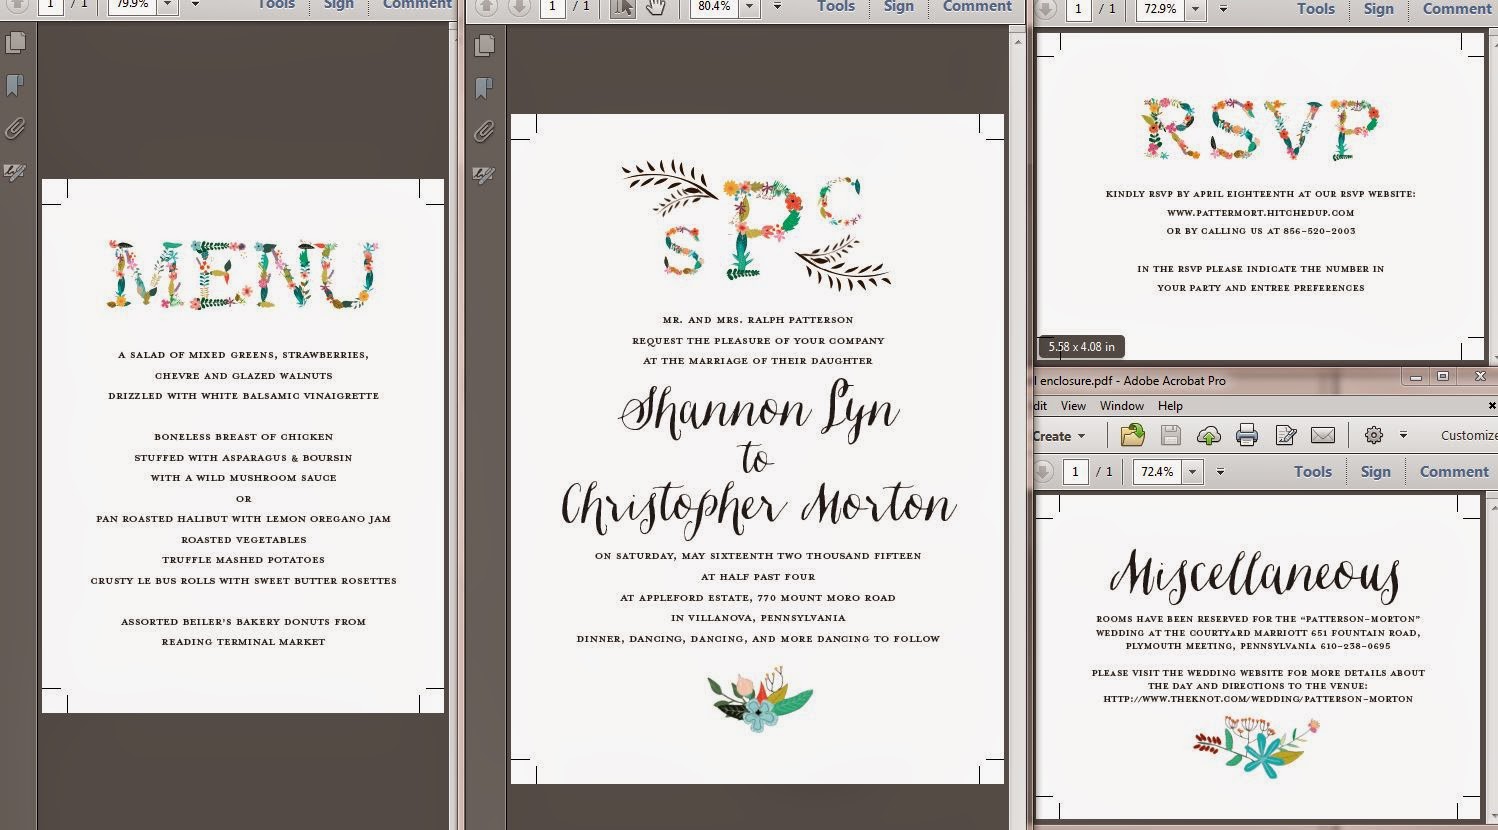
When I realized how much an invitation suite was going to cost on a site like Minted ($700 before postage and envelopes--for 100 invites) I reconsidered my approach.   Etsy is a great source for invitations, especially for suites.  Shops offer printable invitation suites that you can print yourself, bring to a print shop, or send to an online printer.  The suites go for a flat rate and you have unlimited printing power.  I used Printable Wisdom for their Elizabeth suite and worked with the artist, Ashley, on personalizing the suite.

After finalizing the design (final version is not above) I had to order paper products.  Ashley recommended the very affordable site CardsandPockets.com.  Their envelopes and high quality papers were the cheapest online, not to mention you could order samples with free shipping.  I was afraid my printer wouldn't be able to handle the recommended 110 lb card stock (yea there's a whole thing about how much paper weighs and the difference of weights between stock types) so I resorted to Staples where I bought 250 pages of 110 lb card stock for $17.99--enough to cover me for all invites and then some.  

Once printed, I had to cut and the paper cutter we have at work was not cutting it...HA.HA.GET-IT?

Anywho I went with the Carl paper cutter from amazon and it does the trick.  It took me about two episodes of Revenge to get through all the cutting and I realized I probably need something to hold all this stuff together....and those things are called belly bands.  I found another thrift-minded person on the interwebs who provided a template which I personalized for my invites.

Another super awesome way to add color and fanciness without adding weight was making envelope liners from wrapping paper.  I followed this awesome guide using a really pretty roll I found at Hallmark.  Papersource had fun wrapping paper but at $7 a sheet that wasn't helping.

This bogus glue was also really helpful and lived up to its reputation of not being a piece of crap.

Briefly -- when it came to minimizing the weight of the invitation as a whole, I opted to eliminate a second large insert identifying all the details of the day and squished this info onto a smaller card.  I also did away with the RSVP stamped envelope which saved on weight and on additional postage...plus all the time of putting our return address on everything.  Instead we're using a site called www.hitchedup.com which allows you to upload your guest list to your personal URL and when guests rsvp they just search for their name.  It even lets you put a question in like, do you want chicken or fish?  Or what song do you want to hear at the reception?  I like it because it goes straight to my email when someone responds and I can immediately update my psychotic wedding spreadsheet.

So yea, DIY invites are really not that much of a PITA especially if it's freezing outside and there are a ton of Oscar nominated movies to watch pre-awards.  But the best part of the entire thing was that it cost me half (actually even less) of the Minted version, postage included!  Plus I get to keep a sweet paper cutter, address stamp, and have a lot of leftover material for any additional printing needs.  At the end of the day, the only people who are going to hold on to these buggers are yourself, parents, grandparents, and crazy stalkers.  In my opinion, it's not worth spending or stressing over!