Thursday, December 27, 2012

Harry's First Christmas

Harry's first Christmas was early, eventful, and exhausting.  Now a Christmas tradition, Harry slept with his Mommy & Daddy in our Christmas pajamas and awoke promptly at 7:30am to discover what Santa brought him.  Coffee was put on and Harry's stocking unloaded.  The first gift from Santa was a furry Christmas collar donned with jingle bells that sounded the entire day, and actually flew off when Harry needed to shake something off his back.  
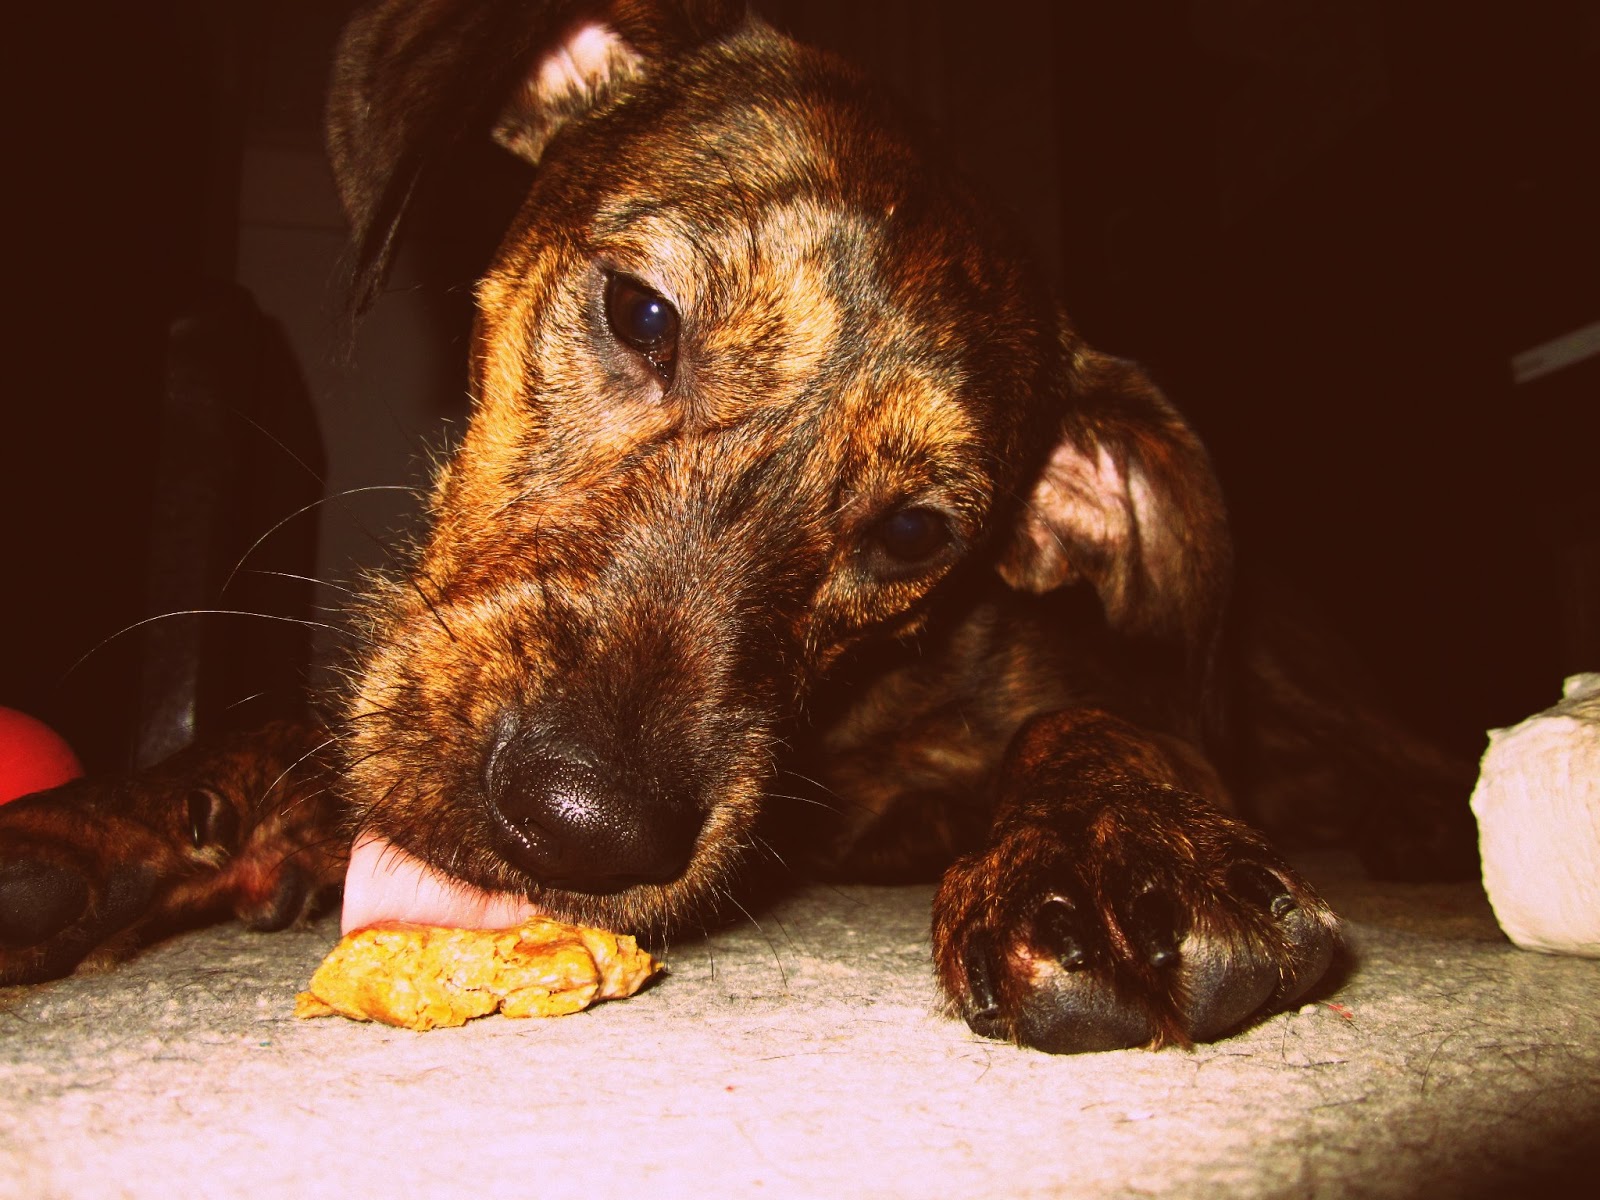
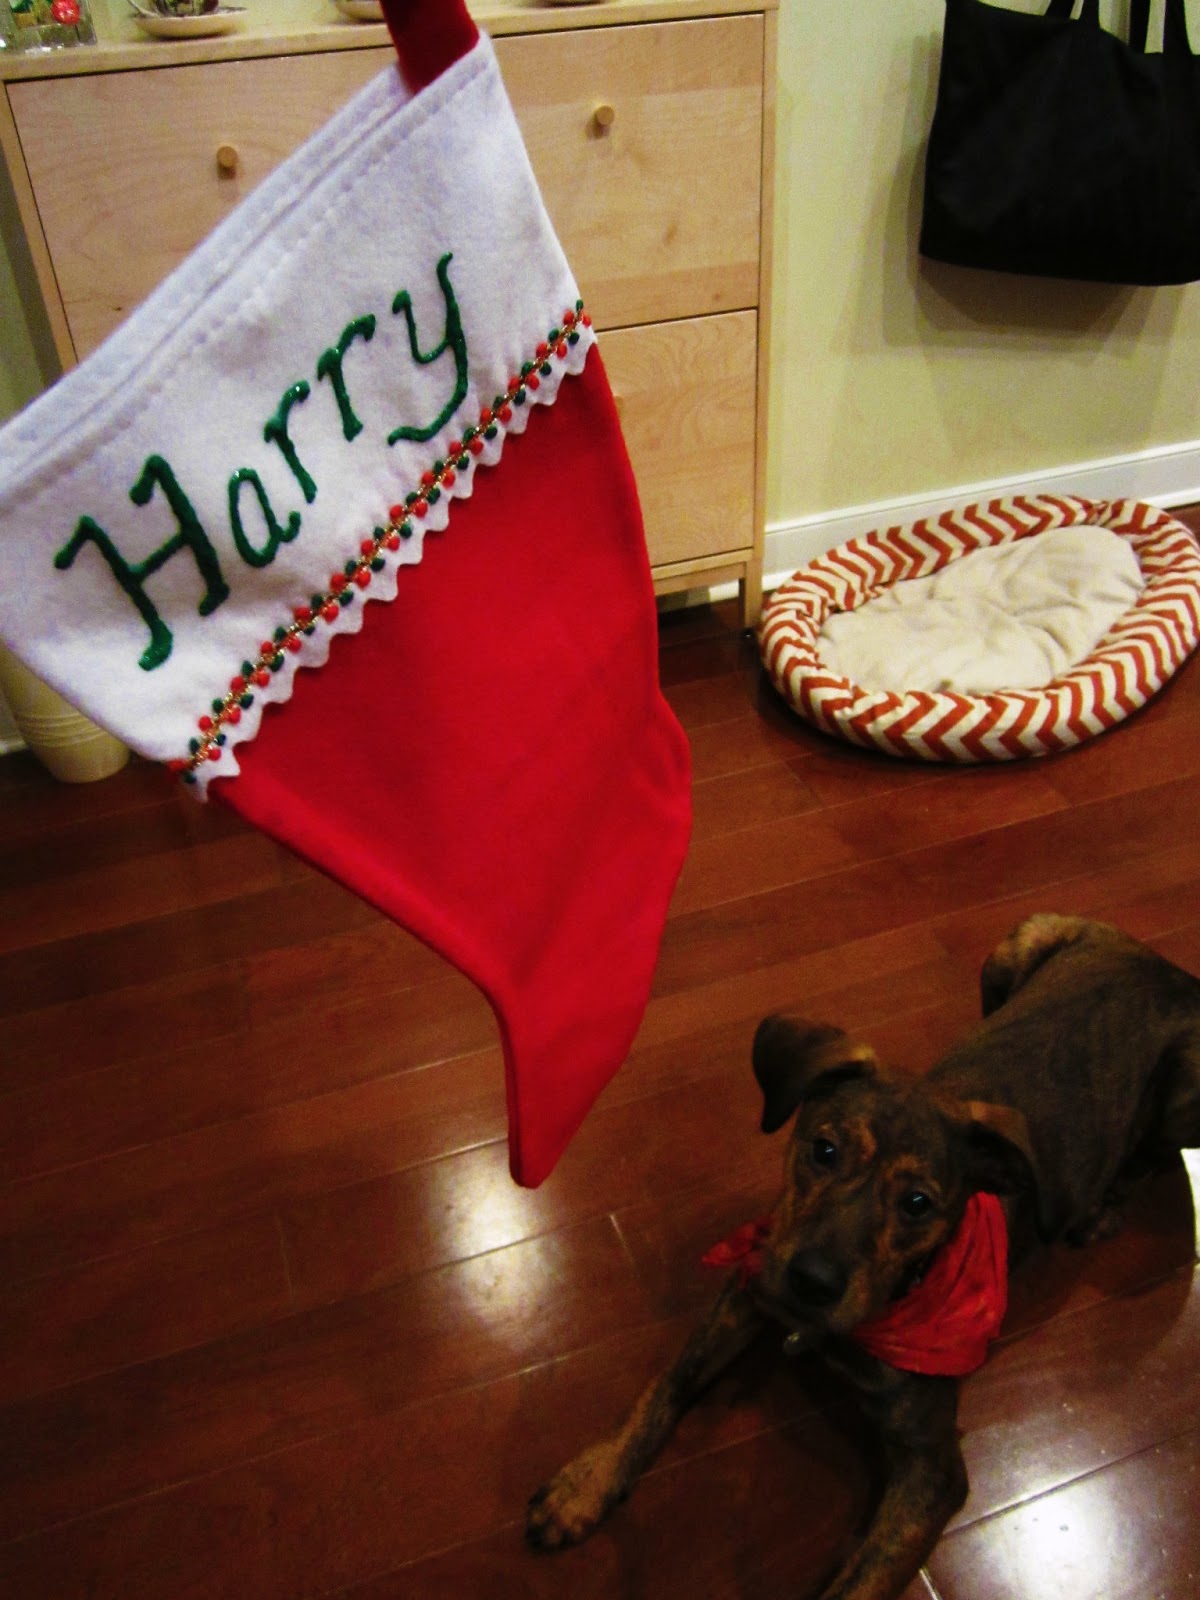
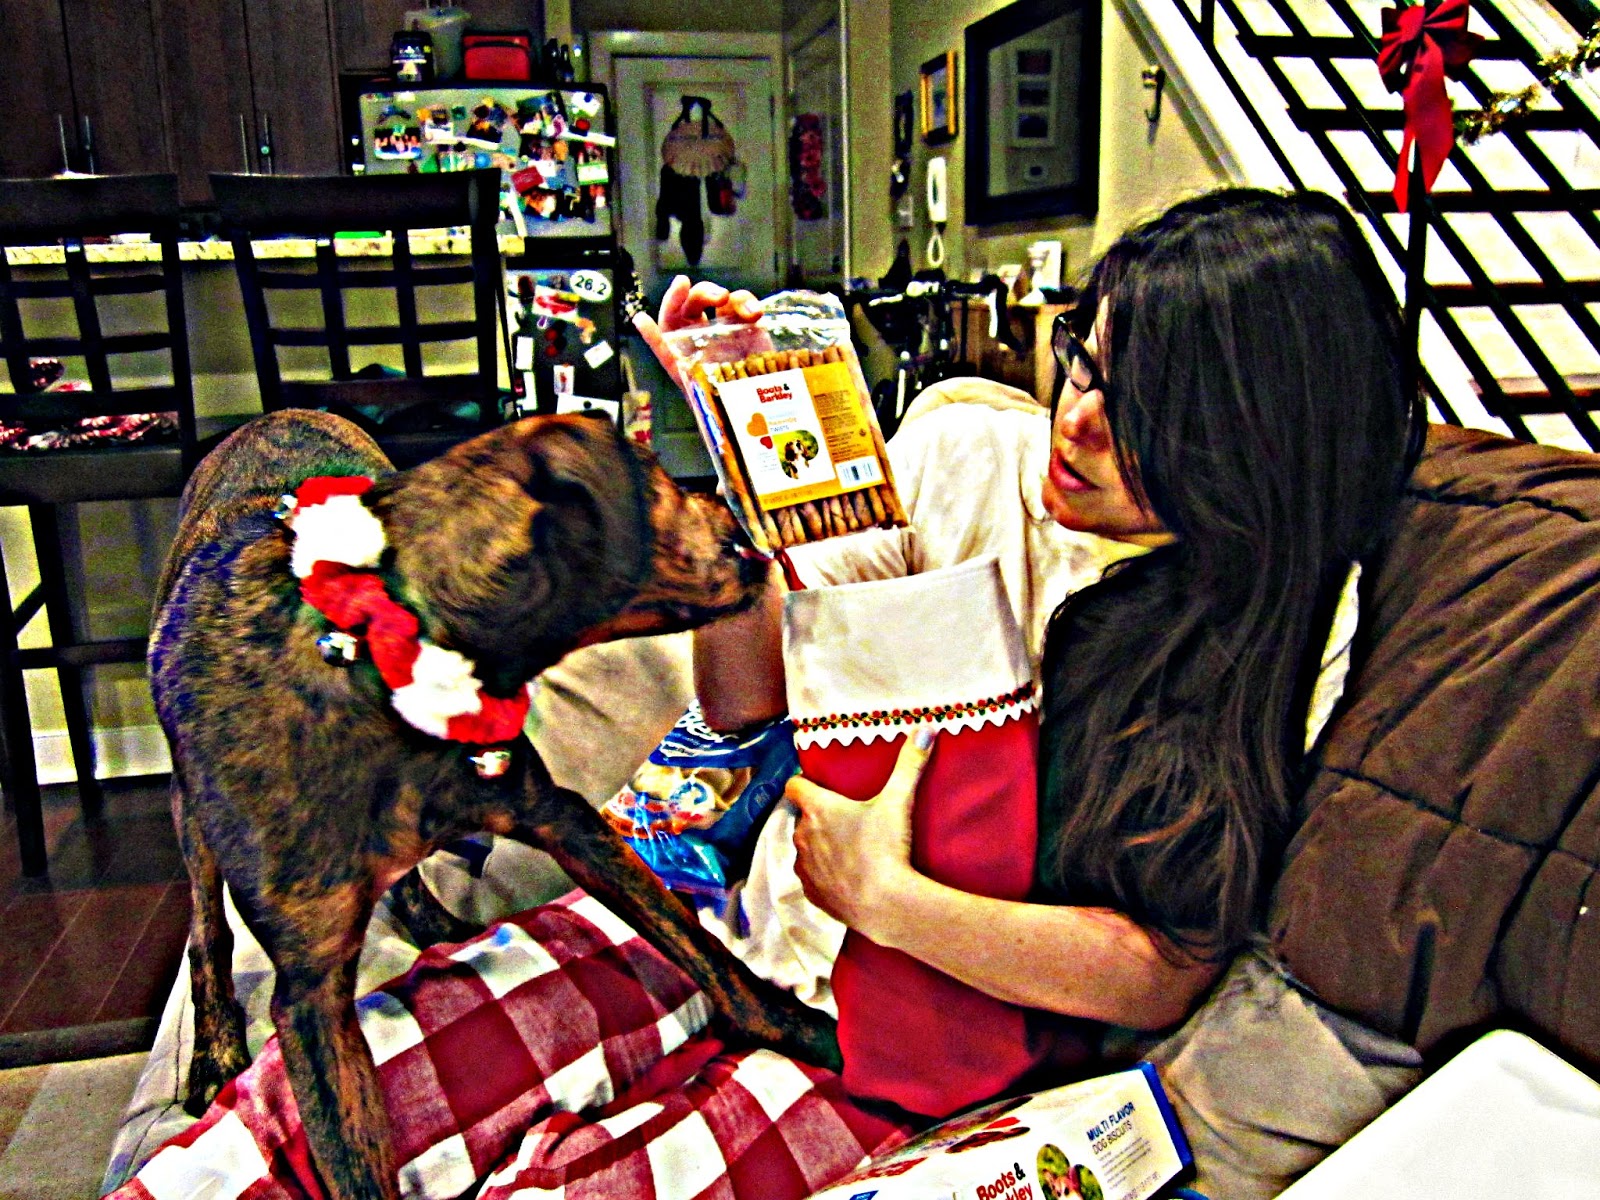
Through thorough sniffing and pawing, Harry discovered that Santa also brought him a new Nylabone (highly recommended for aggressive chewers), dental chews (Santa wants Harry to have fresh breath), treats, a doggy towel for bath-time, and of course plenty of treats.  
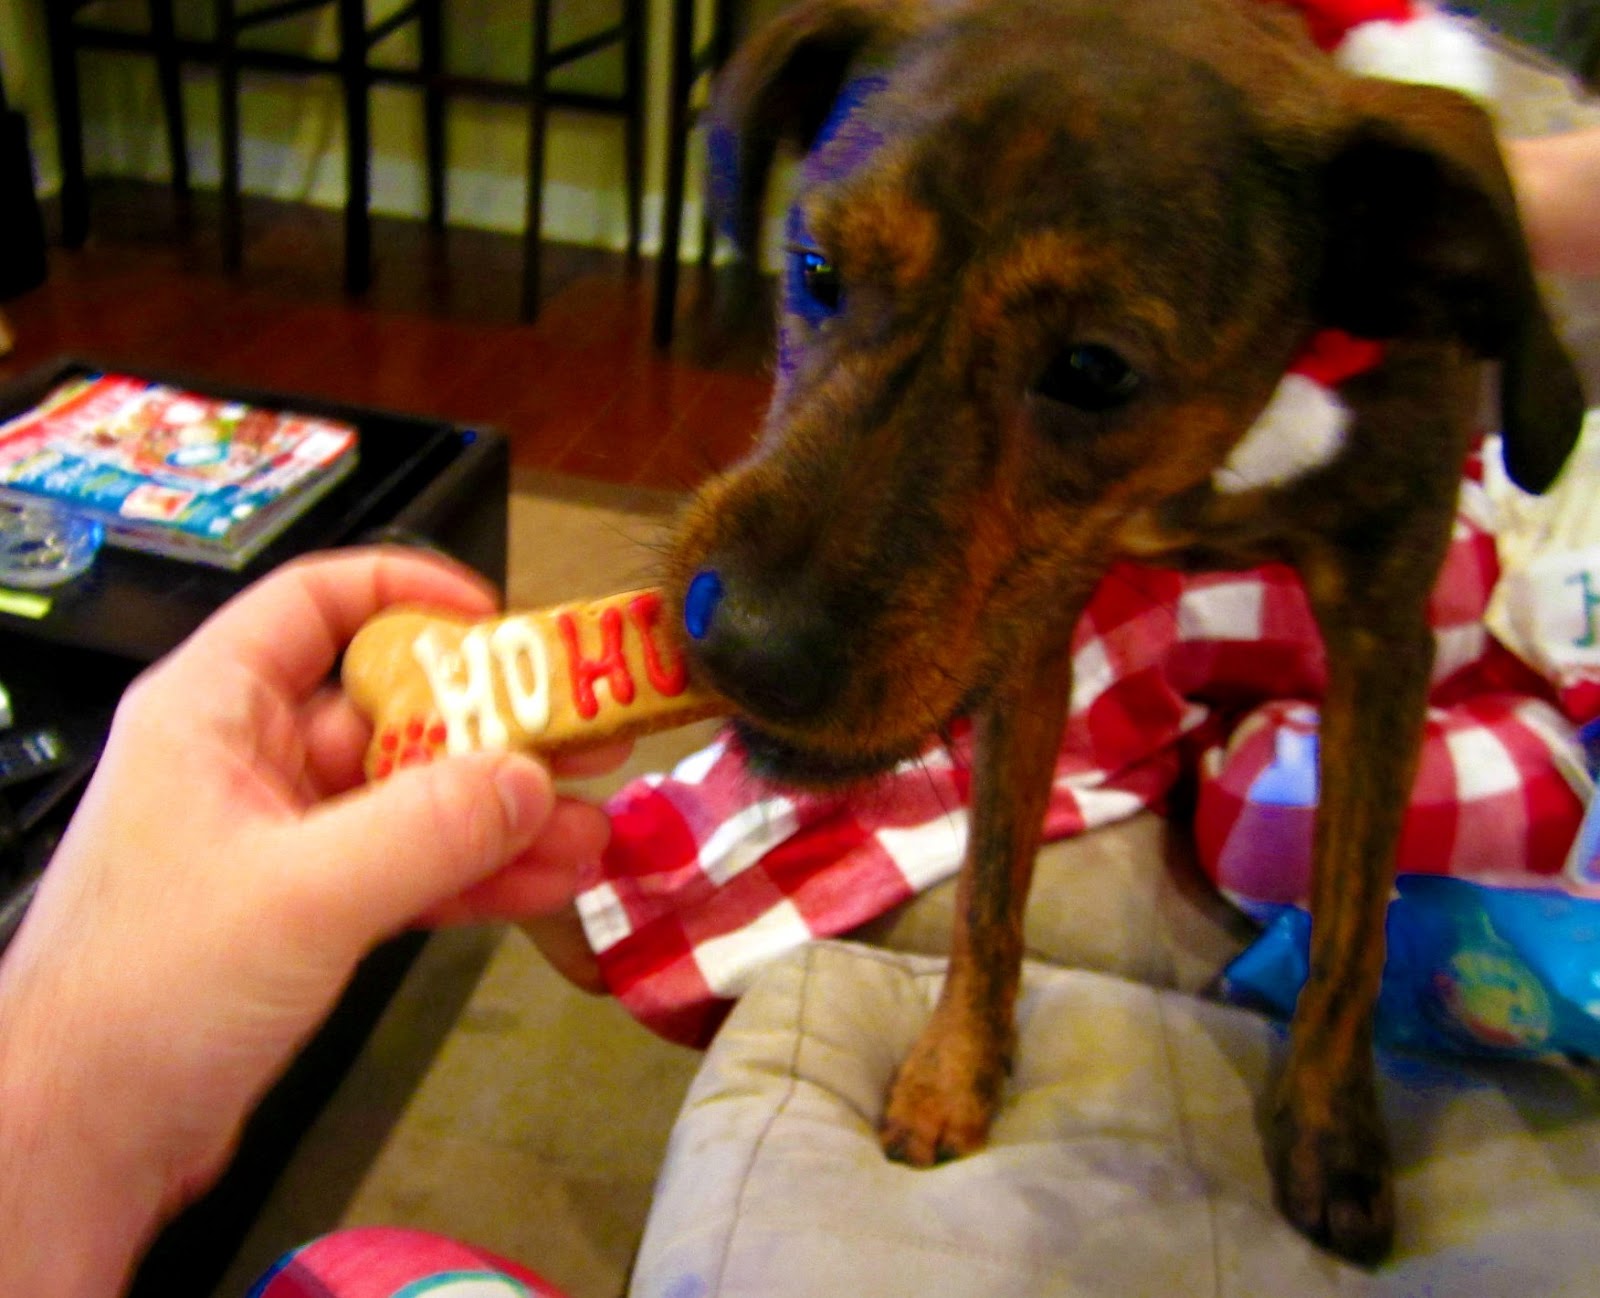
Before heading to our family Christmas, Harry was presented with a frosted special treat from his Daddy from Doggie Style.
Even though it was hard to part with all of the new smells and excitement in our home, we packed Harry into the car and drove to our family Christmas.  Harry stayed with my parents and played with his fur-uncles (three red Australian Shepherds) while the boo and I started Christmas with brunch at his family's home.  While we were gone, Harry bragged about his new presents to his cousins and proceeded to engage them in suicide sprints from the patio door to the back of the fence over and over again.  

Following our Christmas brunch, we joined my family for the long drawn out family tradition of an 8 hour Christmas.  My family spends that much time opening gifts one by one, eating, and getting distracted until around 10:30.  Harry opened gifts from his human-aunts and human-cousins and a few gifts from his fur-cousins and fur-uncles.
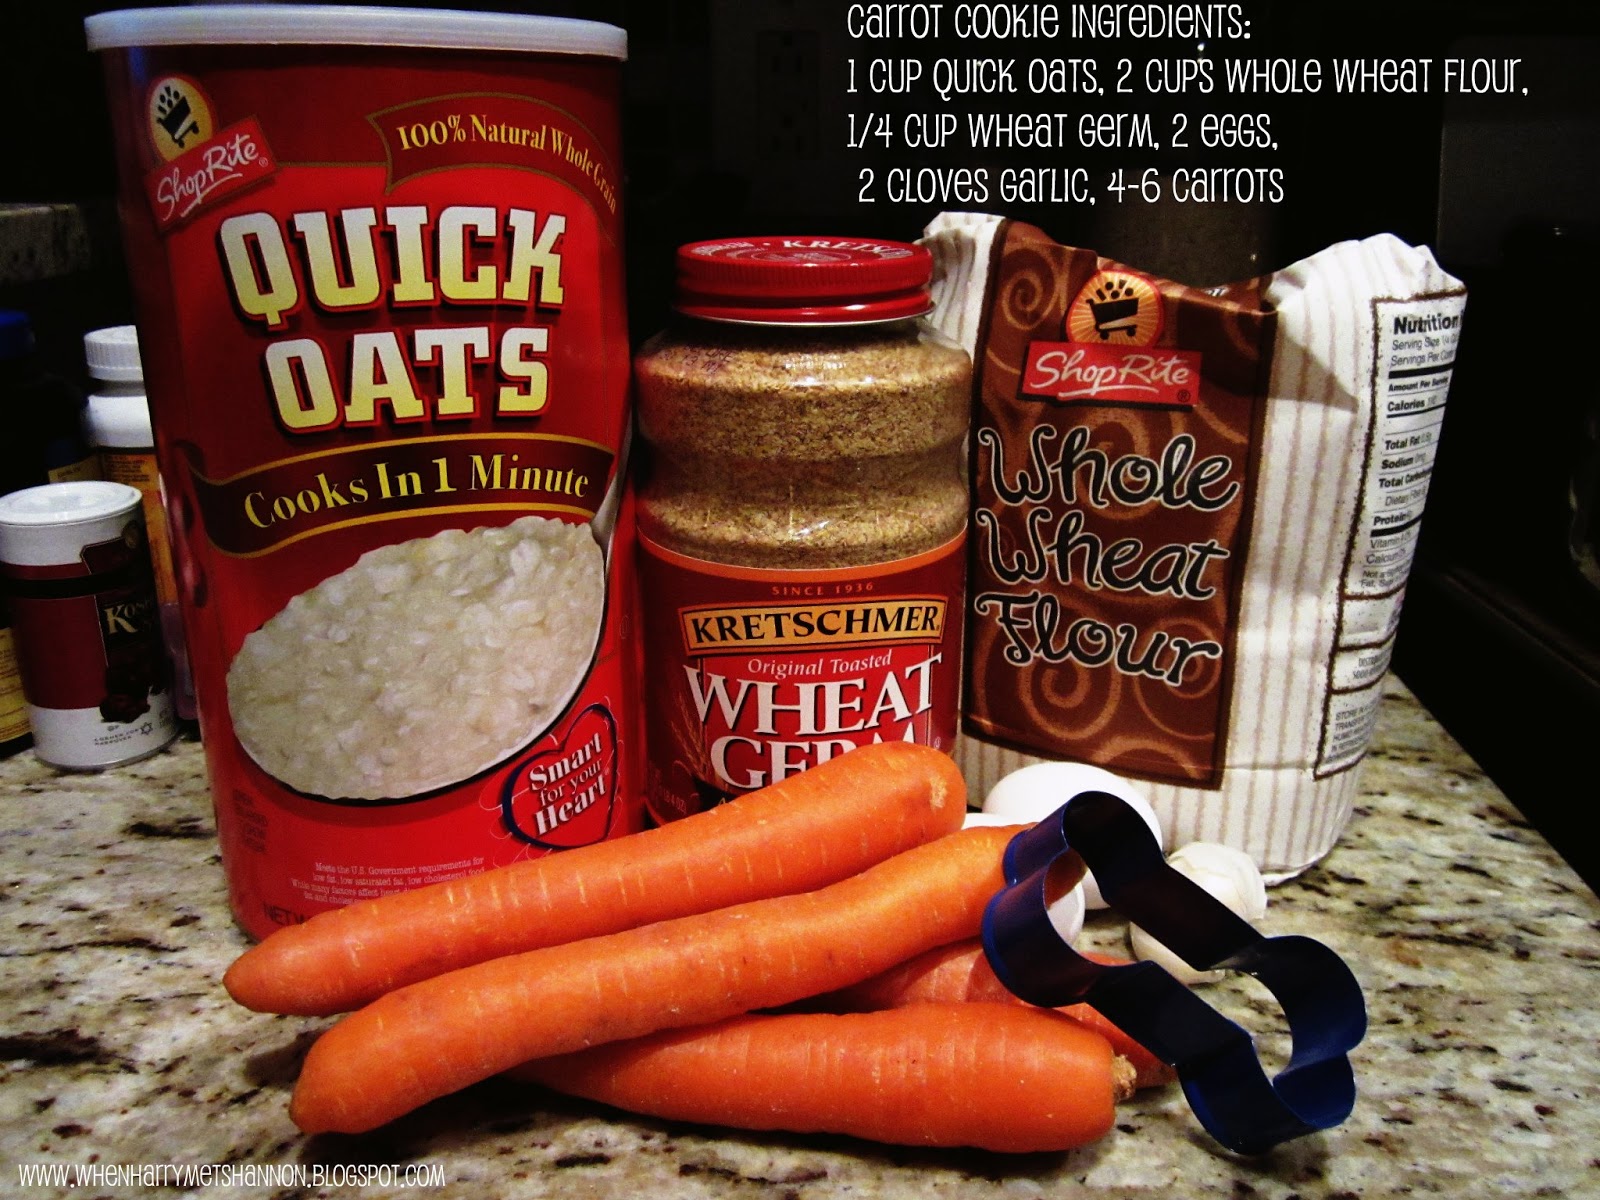
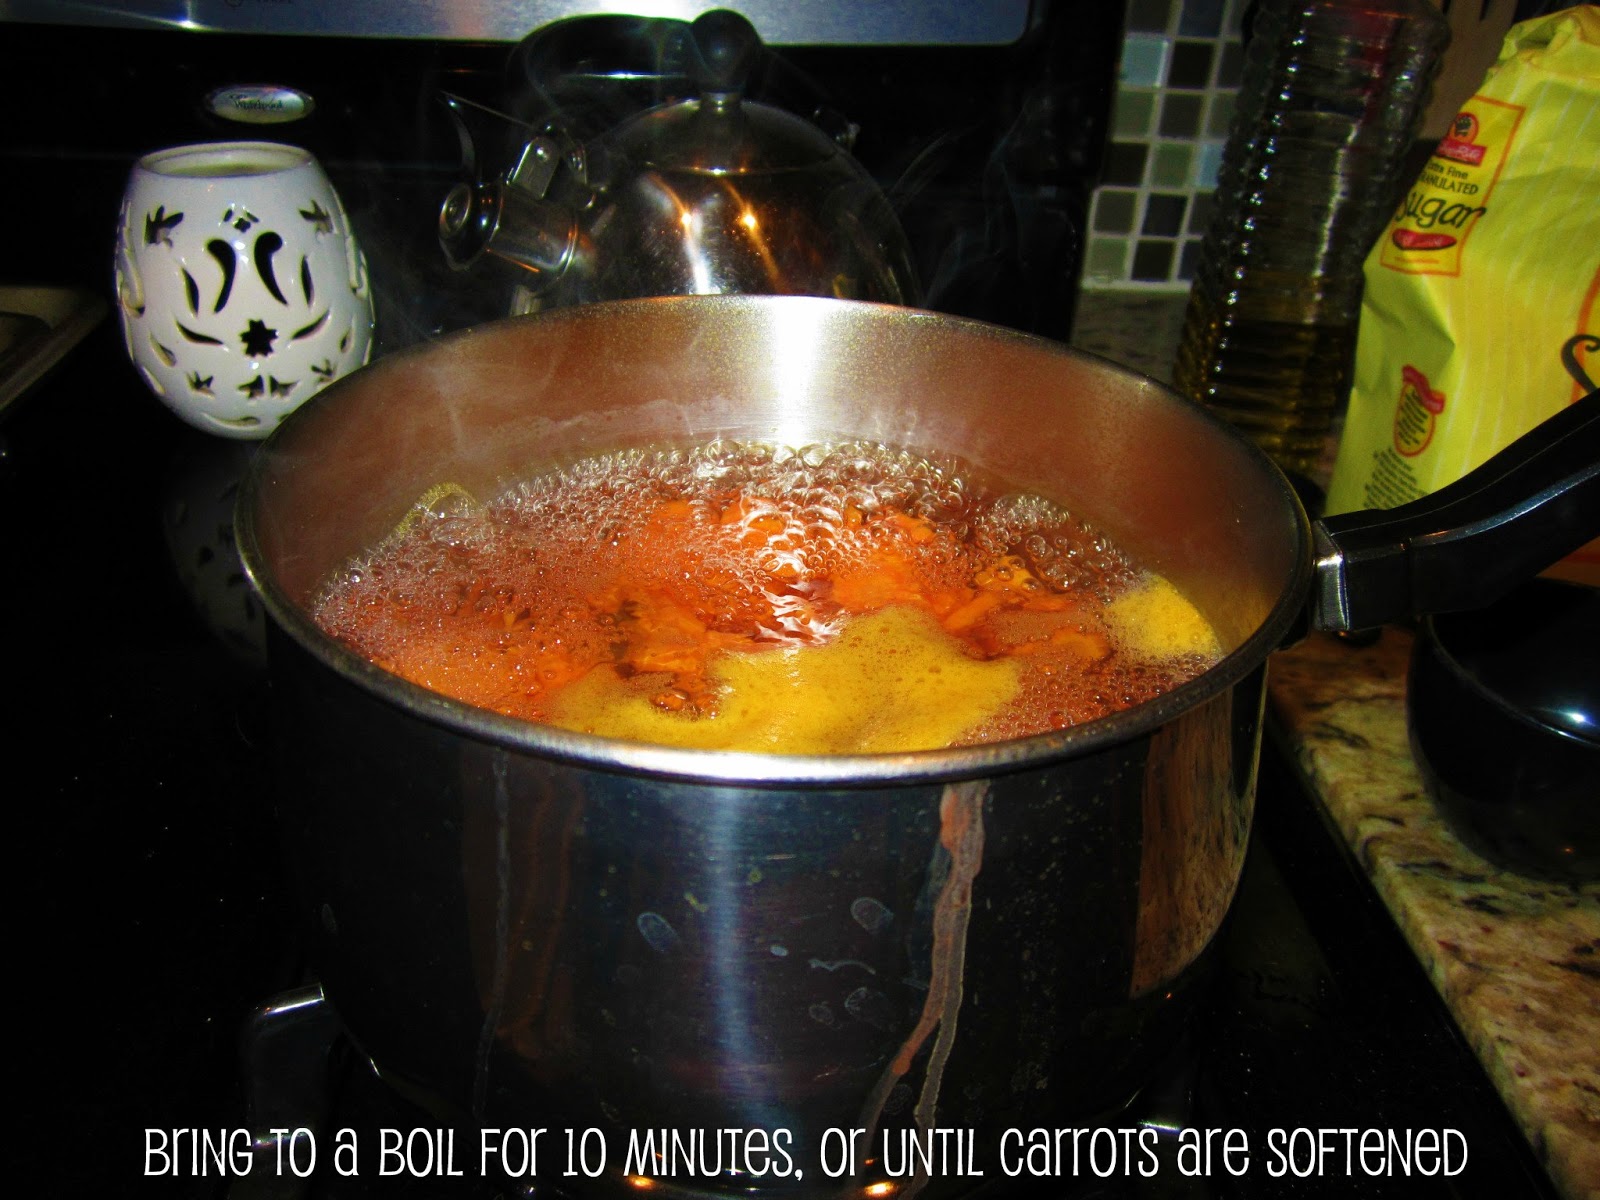
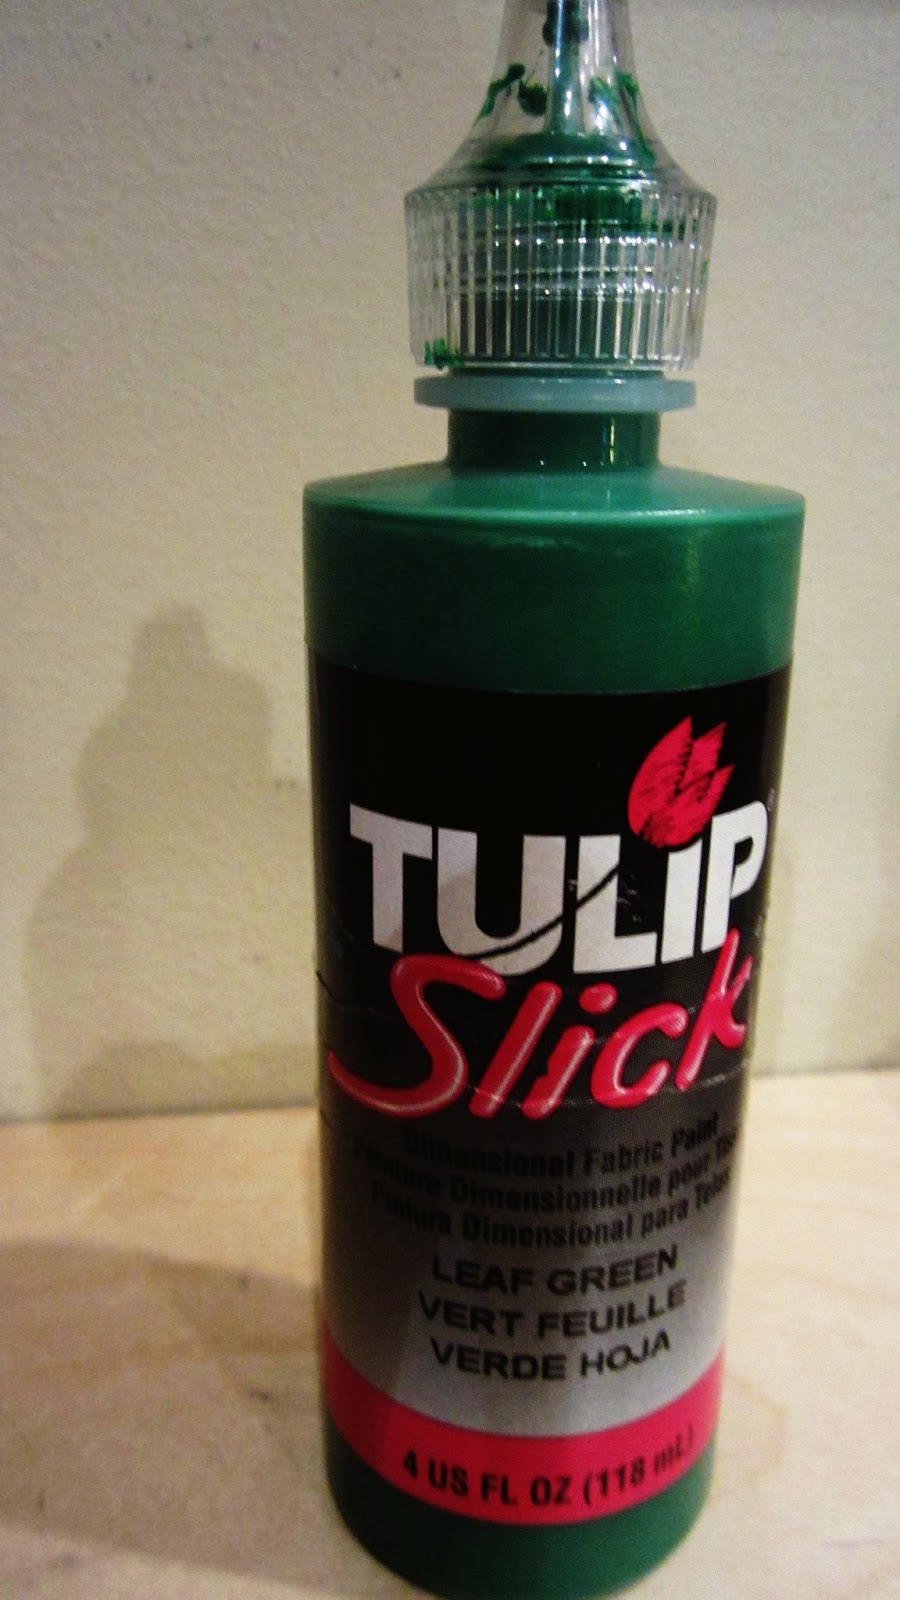
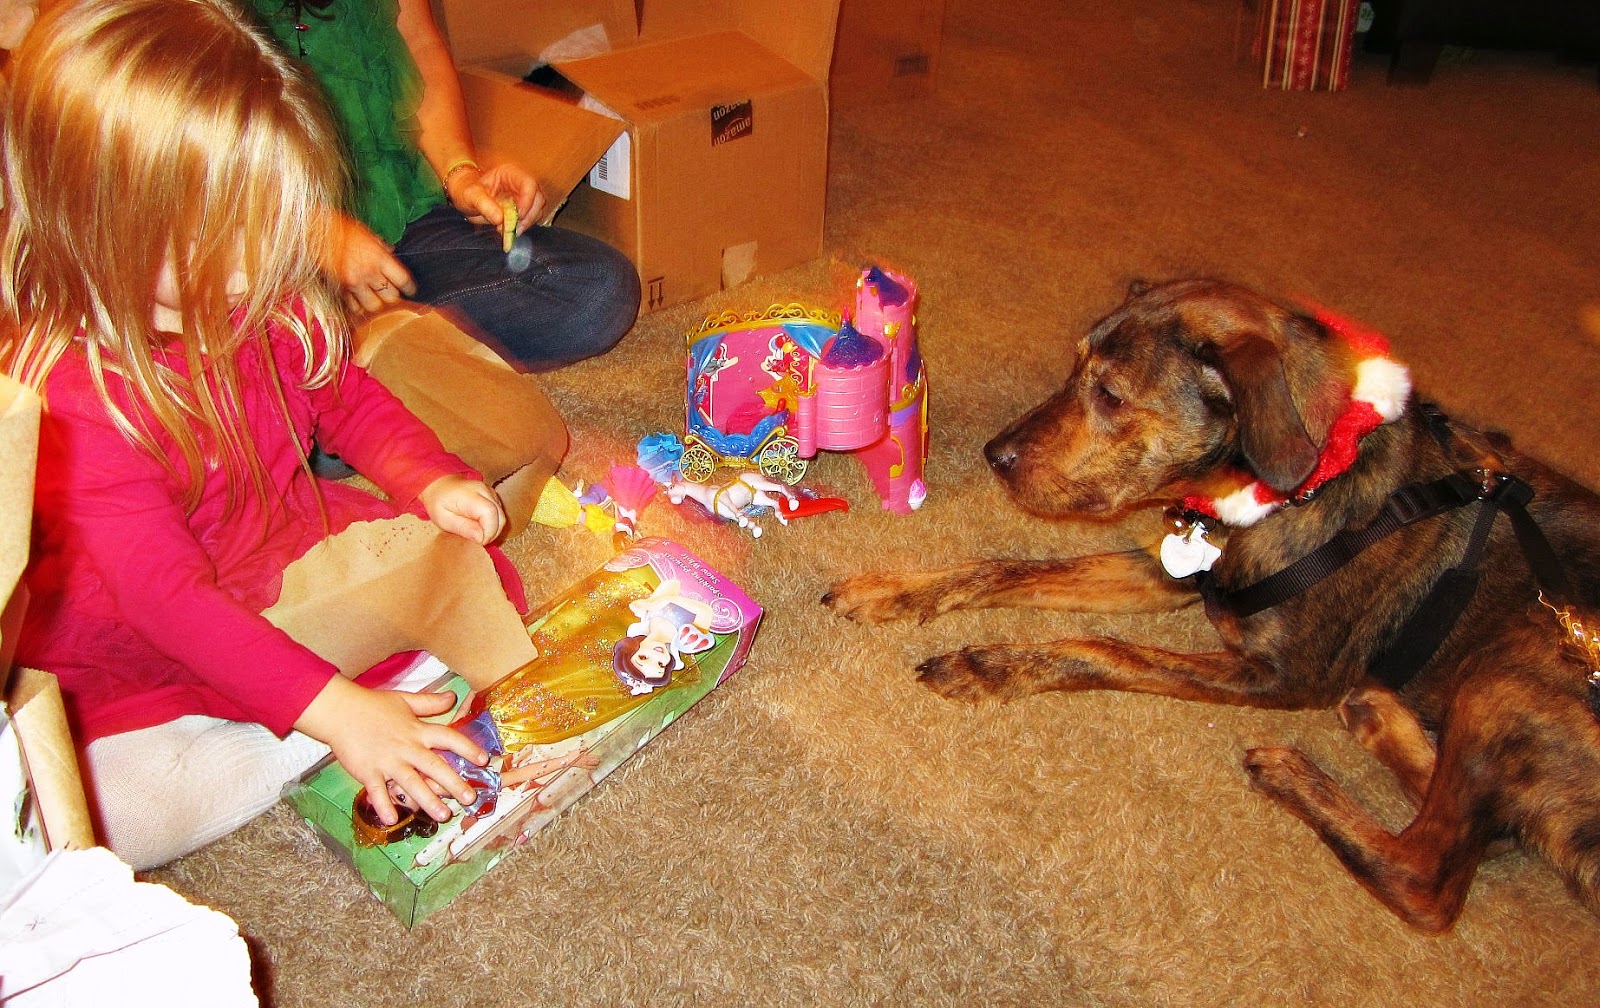
And he watched his fur-family and human family open their gifts.  Fur-cousins and fur-uncles were given Harry's home-made treats seen here.  He even helped open a few gifts, and attempted to play sparkle princess houses with his human-cousin.  Below he's sitting with my niece as she opens the Snow White Sparkling Princess Harry picked out for her.
It felt like Harry was excited the entire day.  His attempts to play with his fur-cousin jug Karma were put off after he pawed her a little too many times.   But keeping them apart was a challenge while opening gifts one-handed.  Maybe after four hours or so of constant playing, Harry started to doze by the tree, creating a perfect Christmas moment for his Mommy.  
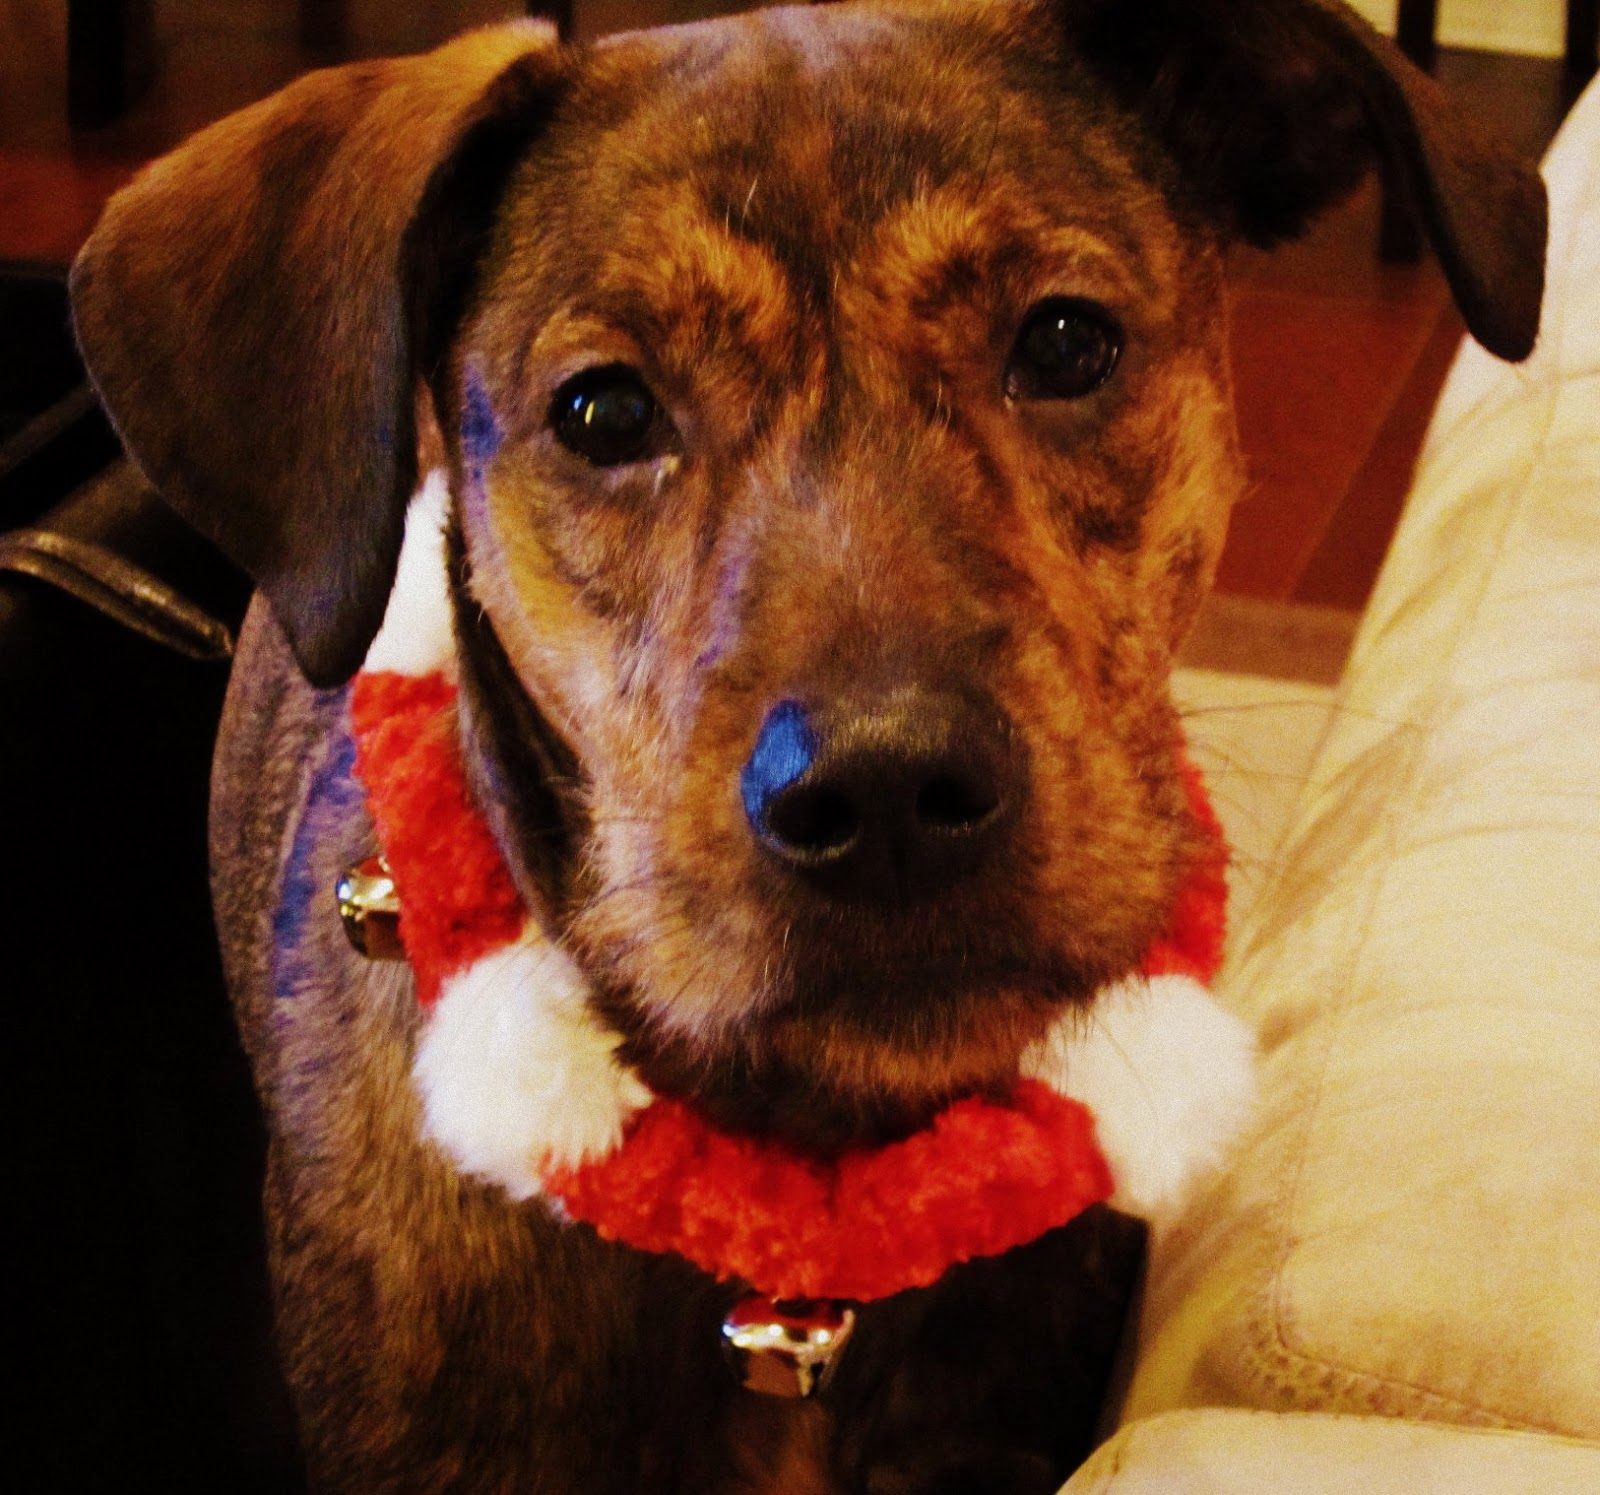
Now that Harry knows how fun Christmas is, he has vowed to be good until Christmas 2013.  However, since that vow he has chewed the face off of his new piggy toy given to him by his human-cousin.  I guess that doesn't matter, because Santa can't resist this face!


Wednesday, December 19, 2012

Harry Hors D'oeuvres: K9 Carrot Cookies

Tis the season to go crazy for cookies.  Dog cookies that is.  Making your own dog treats, especially this time of year, is seasonally fulfilling and guilt free.  I found a recipe for K9 Carrot Cookies at Bullwrinkle.com - which is an awesome name for a bulldog.  Carrots are a super-food for dogs and they're a long lasting root vegetable that can stay in the fridge until you remember they're there.  According to petMD carrots can encourage a healthy coat and skin, bone development, eye health, and cancer prevention.  I was eager to relay the health benefits of carrots to Harry in the way a loving mother does...by hiding it in the form of a treat.

To make K9 Carrot Cookies, you'll need 1 cup quick cooking oats, 2 cups unbleached flour or whole wheat flour, 1/4 cup wheat germ (you can find this in the cereal aisle, or in the organic aisle by Bob's Red Mill), 2 eggs, 2 cloves of garlic, and 4-6 carrots (enough for 2 cups pureed).  Garlic is an ingredient that can be fed to dogs but sparingly.  Unlike onions, which contain sulfides and disulphides that can cause damage to a dog's bloodstream, garlic is ok when used in small batches.
To start, preheat the oven to 350 degrees.  Fill a saucepan with about 6 cups of water and set it on high heat.  As you chop your carrots, toss them into the pot.  Once all the carrots are chopped and in the pot, bring the water to a boil and leave it boiling for 10 minutes, or until carrots are softened.
While the carrots are cooking, mince two cloves of garlic.  This shouldn't take too long, so maybe take some time to have a carrot-dog photo shoot.  
Ehhh what's up Doc?
After the carrots have softened, drain them and put them in a food process or blender.  Pulse until pureed.

In a large bowl, combine carrot puree, eggs, and garlic and mix together with a fork. 
Gradually add dry ingredients (oats, flour, wheat germ) and mix until combined. 
Spread dough over a well-floured surface and press until 1/4 inch thick.  Use a cookie cutter or a knife to cut into desired shapes.  Or just roll into balls - they're your cookies.  I got my bone cookie cutter from AC Moore on a whim, and it came in handy.
Spread cookies apart evenly on a greased baking sheet.  Place in 350 degree oven and bake for 30 to 45 minutes depending on desired crunchiness.  I did mine for 30 minutes and got a chewier treat. 
While your cookies are baking, maybe your fur-baby can lick the bowl, just like my boo likes to do when I make human brownies - that's brownies made for humans, not from humans.  Harry usually helps me do the dishes, aka he licks the dirty ones that are in the dishwasher while I rinse.  When I put the bowl in front of him, he was more confused than excited.  You really shouldn't give your dog raw eggs, but I found the concept of bowl licking incredibly cute and possibly helpful.
Once my cookies were baked, I let them cool for an impatient 10 minutes before I gave Harry a taste.  He loves them.  I've never seen him take such care in eating a treat before.  He laid down with his cookie, licked and nibbled at it until it was all gone.  We'll have to test out another recipe soon, because I can't imagine these treats will last very long.
Nom Nom Nom


Monday, December 17, 2012

DIY Tutorial: Holiday Stocking

This is not so much a DIY Tutorial as it is a look what I just made for my dog post.  Work and party planning have thrown me off the blogosphere, and even in my party recovery I couldn't get my butt off the couch to be even slightly productive.  Harry of course served as the perfect hangover buddy and for eight hours or so watched TV with me as I sat up suddenly every 30 minutes or so with all intentions of projectiling the contents of the night prior all over the floor, then re-evaluated and settled back in.  Sunday was another story. 

In a harried (AH!  Play on words, yuck it up) effort to complete my Christmas shopping I remembered that not only does Harry not really understand what Christmas is, he doesn't have a stocking for Santa to fill on Christmas Eve!  This dawned on me as I passed by a section of stockings in the bustling, loud, and frightening South Philly Walmart.  For 98 cents and a 20 minute wait in line, Harry had a new stocking ready to be hung.  The only problem was that Santa wouldn't know whose presents to fill it with. 

I intended to solve this problem by artfully sewing Harry's name onto his stocking, in the motherly fashion that my mother did for me.  In the essence of time, I defaulted to puffy paint.  In simple terms...
+


=

In only seven short days, Harry's stocking will be bursting with all kinds of goodies.  His stocking hangs right over his bed and I'm obviously waiting for the perfect moment to capture him laying down looking up at his stocking in a Christmas sweater hoping for Santa to come give him bones...but in the meantime I got this one:
Along with teaching Harry how to be good so Santa will give him presents, this week I'm hoping to provide some great gift ideas, and a cookie recipe or two, so stay tuned to keep up with Harry and the holidays!

Wednesday, December 5, 2012

His Girl Pearl

A feeling of dread overcomes me as I imagine the point in my life when my friends get married and start having children.  Gone are the ladies nights, the impromptu Sunday Funday, and irresponsible shopping sprees only to be replaced by baby budgets and sitters calling out.  I always associated that point in life as "the end"...you get there, you get fat, and then you die.  I was a pessimistic teen.  As I've gotten older, the feelings have changed.  This past weekend, I experienced the feeling new moms feel when they get together with friends and watch their babies play together for the first time.....ok maybe not to that extreme.  But I did have my very first play-date with a friend's new adopted pit-mix!  Baby steps.
Pearl was adopted three weeks ago from a shelter in Pennsylvania.  She's a black and white pocket size pit mix with a huge amount of strength, energy, and incredibly cute facial expressions.  Obviously it was love at first sight when Harry and Pearl met.  We brought them to the unofficial official dog park of Fairmount, which is a loosely fenced in area that the Saturday farmers market is held.  Philadelphia should seriously consider turning that into a park.  Does Leslie Knope do free lance work? 
 The date was spent sniffing, sprinting, and tackling as Harry and Pearl got to know each other better.  Harry cheated a bit during tag by chomping onto Pearl's adorable pink argyle collar, but otherwise we were impressed by his speed and Pearl's ability to keep up.  Eventually they ended up playing keep away and tug of war with a tasty stick.  Things got even more interesting when a couple of other dogs showed up, a gentle shy beagle mix and a giant Saint Bernard rescue named Simon.  135 pounds of massive dog lives in a Fairmount home somewhere which is impressive considering the size of most Philadelphia digs.  What's better is he was that big when he was rescued which means his parents are awesome.
 At the end, Harry was pooped and Pearl was sad to see him go - but mission accomplished we ended up with a tired happy dog.  When I go back to thinking about those "friends with kids" it's actually not so bad.  Yes, at this point in my life I'm talking fur-babies, but it's really great socializing with your friends while watching your "kids" play.  Especially when that kid has as much energy as Harry.  Plus, I get to talk dog stuff that a lot of my friends without "kids" can't relate to.  It won't be long before we're reaching out again to see if Pearl can come out and play!

Monday, December 3, 2012

DIY Tutorial: Tea Cup Candle

It's the holiday season, and this year I'm attempting to DIY a lot of my gifts.  Weekends and weeknights have been chock full of knitting, crocheting, paper folding, and most recently, candle making.  This past weekend I made a pit stop at the Spring Garden flea market (most Saturdays at 4pm) and found a china set with three complete tea cup settings.  
Normally I go for the floral, overly-English, vintage tea cup but when I saw these I immediately thought of crafting them into candles for the holiday season.  For a sweet deal, I took home the three sets and made a trip to AC Moore to get the rest of what I needed for my project.
Not pictured materials:  Scissors, Saucepan, Pens, and a Tea Towel
To begin, I filled a saucepan with water and placed my jar scented candle in the water with the lid off.  After putting the heat on high, I brought the water surrounding the candle to a boil and took the heat down just a bit until the candle wax melted down to a liquid.
Once my candle was completely melted down, I took the metal end of the votive wicks and dipped them into the melted wax.  
Just a little bit of wax is enough to hold the wick base onto the bottom of the tea cup.  Quickly place the metal end in the center of the bottom of the tea cup and press gently until it holds in place.  If it doesn't stick, just re-dip the metal end back in the wax and try again.  
The next step is filling the tea cup with the melted wax.  Wrap a tea towel around the jar candle and carefully remove it from the saucepan.  Pour the melted wax from the jar straight into the teacup.  

It's less messy to work quickly, but spilling wax isn't a big deal.  Leave any spills to dry, and once hardened use a razor blade or a butter knife to lift the wax from the surface.
The wick will likely lean to one side or another, so in order to get your wick straight use something to stabilize it on either side until the wax cools to room temperature.  I used two pens across the tea cup and a piece of tape to hold them in place.  

The hard part is over!  Now just wait for the wax to cool and harden back up.  It takes a couple of hours which gave me enough time to snuggle Harry and play a game of kickball.  Once it's completely hardened, all that's left to do is trim the wick.  Using scissors, trim the wick down to about a half inch above the surface of the candle.  
Voila!  I love the results of my tea cup candles.  They're original, festive, and they smell amazing.  As per usual, Harry watched me the entire time I was in the kitchen...I should also mention I was simultaneously making a meaty lasagna.  It was probably the cheesy tidbits that fell on the ground that got him to take this photo.  I hope you enjoy my tutorial and use it to make an original gift for someone special (or just for you!).