Being inspired by the natural setting I wanted to have an arch of some sort, but I didn't want to overpower the greenery. I had a bunch of inspiring examples:

http://www.weddingbells.ca/planning/ceremony-ideas/eye-catching-wedding-arbor-ideas/
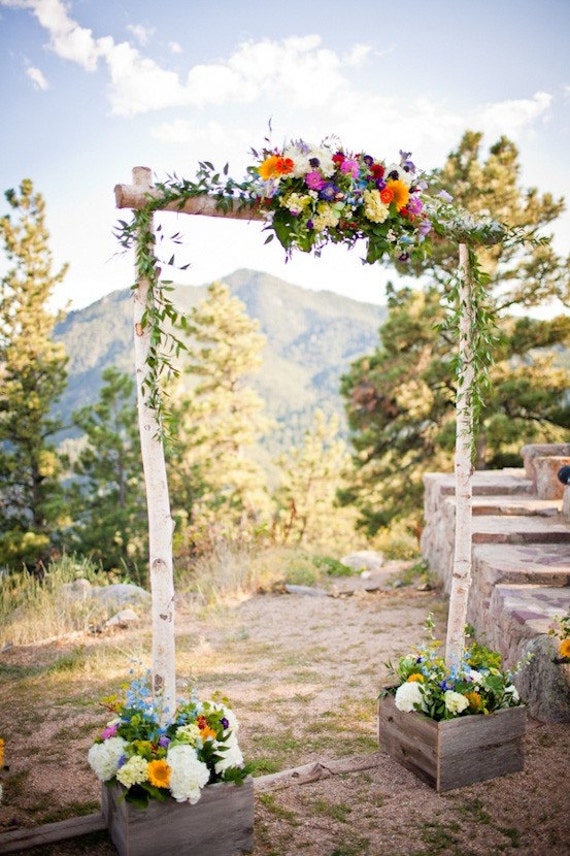 |
| https://www.etsy.com/listing/176829012/three-piece-wedding-arch-chuppa-birch |
 |
| http://www.weddingbee.com/wedding-vendor/bluemoon-catering-event-planning |
And I also found a tutorial at A Practical Wedding that gave a how-to to create a super bohemian one complete with poms and rainbow ribbons. I followed the step by step guide to create the structure and then decorated to my own style.
You'll need:
3 7 foot Birch poles
3 7 foot Birch poles
Zip ties
PVC pipe
Cement Mix, mixing bucket, and water
2 Silver buckets (about $20 each at Home Depot)
Fake Moss
Decor (use a silk flower garland like I did, or your own idea!)
A stepladder, unless you're not as vertically challenged as me
To start, we had to create a base that would hold the birch poles in place. I got my birch poles on Etsy and had to wait until they arrived to buy the supplies for anchoring them so that I could measure the diameter of the pole itself. Two buckets, a bag of cement mix, and a PVC pipe later, we were ready to start assembling.

Foo was super helpful and hands on setting up a cement mixing station in the basement. He cut the PVC and set it in the center of the bucket, and then filled the sides in with cement. After curing the result was a 25 pound bucket.

We topped the cement with decorative moss found at AC Moore and we'll have to turn them backwards so we're not showing the stickers that we can't get off the buckets! Inside the PVC are wood shims that we'll use to wedge the poles in so that they stand straight.


After setting the poles in their holders, we had to place the third pole across the top. We screwed two eye hooks into the tops of the side poles, and then used a zip tie to secure the poles. We're hoping that this kind of assembly is easy to do day of. Hoping really hard.

Here's an up close shot of how we secured the poles together. The zip tie is hidden by a tied satin ribbon.
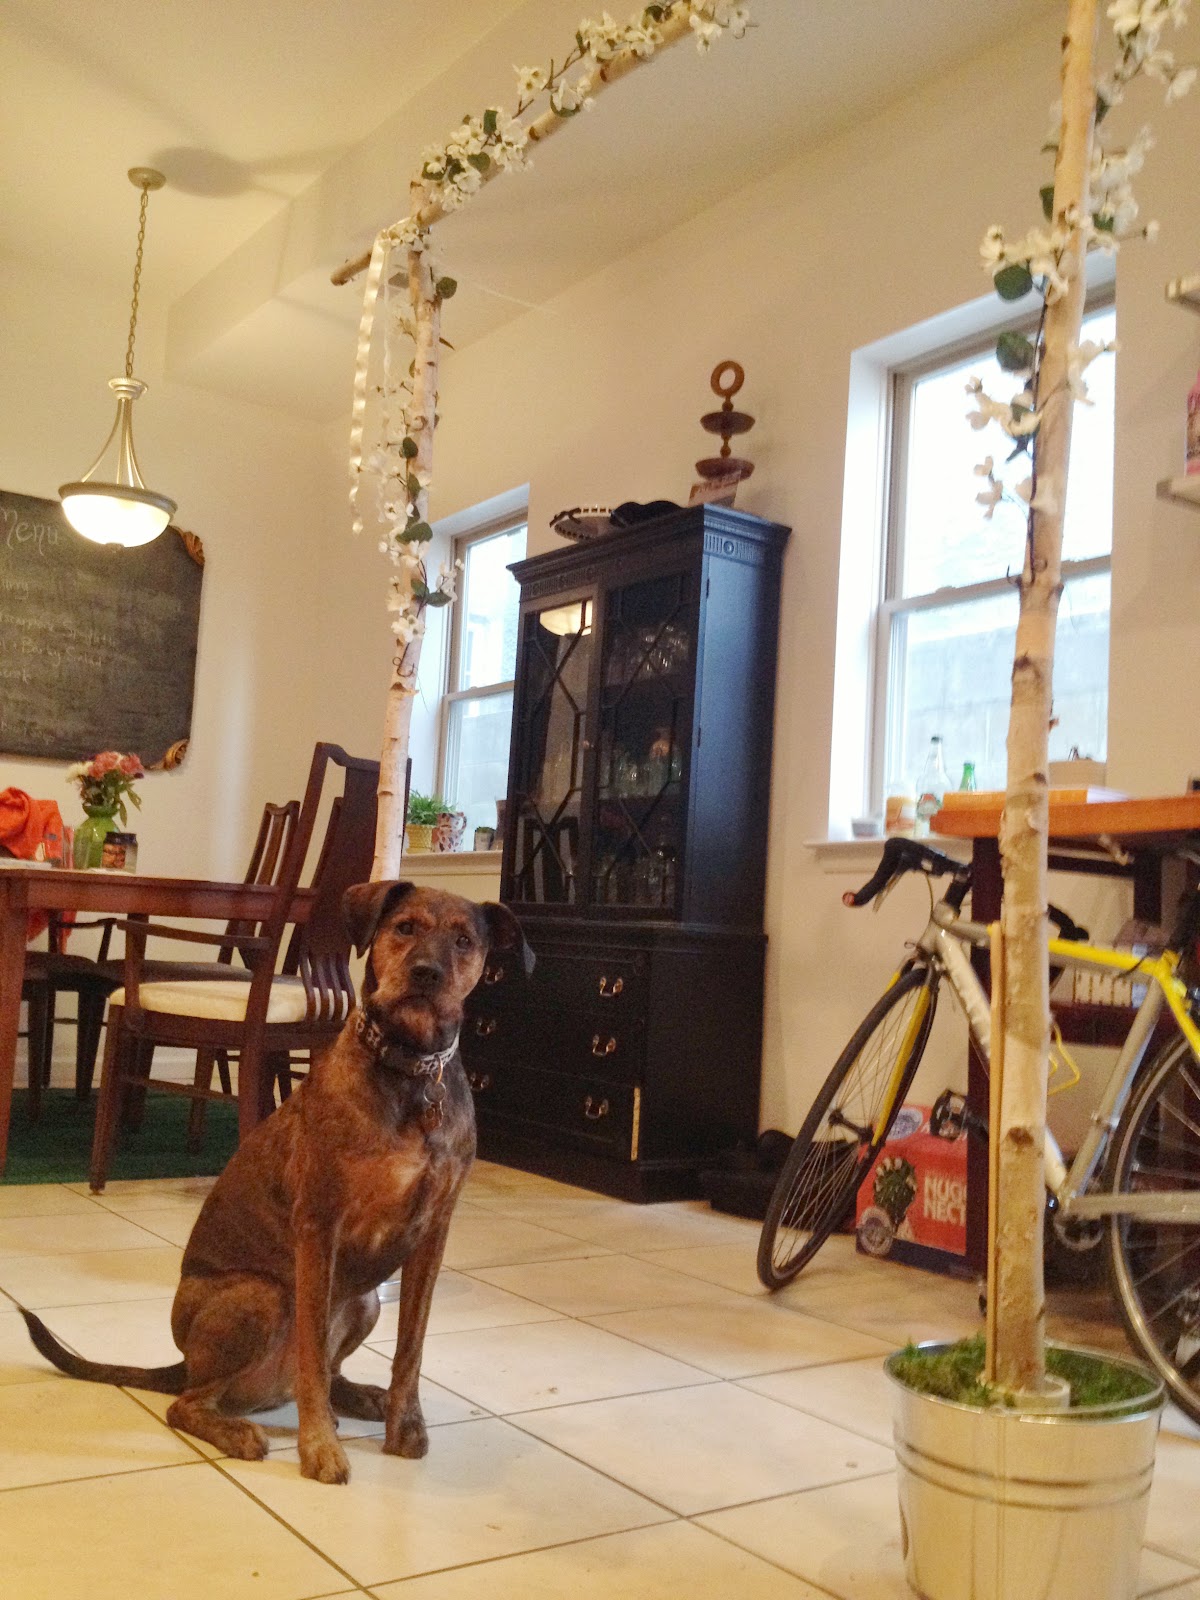
Instead of going nuts with ribbon (I had originally wanted to tie a bunch down the center), I picked up two silk flower garlands at AC Moore (40% off yo!). I secured them in the middle with floral wire and then again on the sides. Day of, we'll just have to re-attach the sides after the structure is secured. The above shot is taken pre-purchase of extra shims and ribbon where we were using a paint mixing stick and my stash of ribbon bits for last minute gifting. Will you marry Harry?

Excuse the pile of recyclables and focus on the end result here. I think the flowers look pretty realistic...and our audience will be sitting back a few yards. Beats paying for a florist to do similar work! After making the buckets, the assembly and decorating took 20 minutes tops, and that included me mulling over how to cover the zip ties and where to start and end the garland. We're going to leave the garland secured to the top piece so that assembly is even faster for the ceremony.
Hoping this helps any other DIY or budget brides hoping to do something similar! At the end of the day this project cost just about $100 which was mainly the buckets and birch. A rental of something similar or paying a florist to decorate a rental would be a pretty penny more!
No comments:
Post a Comment